Halloween is one of the most interesting festivals of the year and is often a great opportunity to show personal creativity. As an important part of the costume, the nails can not only add details to the character, but also add a lot of color to the overall look. However, how to wear the nails correctly to ensure comfort, safety and achieve the best effect? The following are detailed instructions and precautions.
Basic knowledge of nails
Material of nails
Handy nails are usually made of the following materials:
Plastic: Affordable, lightweight, suitable for short-term wear. Resin: The texture is more realistic, suitable for shooting or long-term costumes. Silicone: Soft and comfortable, suitable for people who pursue natural effects.
Types of nails
According to the way of use, wearable nails can be divided into:
Disposable self-adhesive: Easy to use, suitable for temporary costumes. Reusable press-on or adhesive: Need to be fixed with nail glue or double-sided tape, suitable for complex shapes.
Precautions
Make sure to choose the right size and shape to match your nails. When choosing the material, consider comfort and allergy risk, especially for people who are allergic to glue or plastic.
Preparation before wearing
Clean and trim your nails
Before wearing the wearable nails, cleaning and trimming your nails is an essential step.
Cleaning: Use hand soap or nail cleaning liquid to thoroughly wash your hands to remove grease and dirt to ensure that the wearable nails can adhere firmly. Trimming: Use nail clippers to trim the length of the nails and use a nail file to smooth the edges of the nails.
Make sure the surface of the nails is dry
Moisture or grease will affect the stickiness of the glue. After cleaning, dry your hands thoroughly with a towel or paper towel, and wait for a few minutes before wearing to ensure that the nails are completely dry.
Prepare tools
When wearing wearable nails, it is recommended to prepare the following tools:
Nail glue or double-sided tape Small tweezers (for easy adjustment) Nail file and skin pusher (for trimming edges)
Correct steps for wearing wearable nails
Try on and choose the right size
Before sticking, try on the wearable nails one by one to make sure the size matches your nails. If you find that the wearable nails are too large, you can use a nail file to trim them slightly.
Apply glue or apply double-sided tape
Use nail glue: Apply glue evenly on the back of the wearable nail and the surface of your nails. Be careful not to apply too much to prevent the glue from overflowing. Use double-sided tape: Cut the double-sided tape into a suitable size, stick it on the surface of your nails, and then tear off the protective film.
Attach the wear nail
Align the wear nail to the base of the nail, then press gently, pushing forward from the root to ensure an even fit. Press for about 10-15 seconds to ensure it is firmly attached.
Trim the edges
If the edges of the wear nail are not smooth enough, use a nail file to make fine adjustments. Be gentle to avoid damaging the wear nail.
Check for firmness
After wearing, gently shake each wear nail to ensure that it is firmly attached. If you find it loose, you can re-apply glue or adjust the position.
Maintenance and precautions after wearing
Avoid strenuous activities
Although the wear nail is beautiful, it is not suitable for strenuous hand activities, such as lifting heavy objects or opening bottle caps, to avoid falling off or breaking.
Avoid prolonged contact with water
Prolonged contact with water (such as bathing, washing dishes) may reduce the viscosity of the glue and cause the wear nail to fall off. It is recommended to minimize contact with water during wearing.
Pay attention to allergic reactions
If you feel itchy, stinging, or redness and swelling on your hands, you should immediately remove the nail polish and wash your hands. If necessary, consult a doctor.
How to safely remove the nail polish
Use a special nail polish remover
When removing the nail polish, avoid tearing it hard to avoid damaging the natural nail. Use a special nail polish remover or a detergent containing oil, drop it between the nail and the nail polish, wait for a few minutes and then gently remove it.
Warm water soaking method
Soaking your hands in warm water for 10-15 minutes can soften the glue and facilitate the removal of the nail polish.
Clean the nail surface
After removing the nail polish, wash your hands with warm water and use a nail file to clean the remaining glue or double-sided tape. Finally, apply nail polish to moisturize the natural nails.
Storage Method of Wearable Nail
If the wearable nail is reusable, it should be properly stored after removal:
Cleaning: Gently wipe the wearable nail with a damp cloth to remove residual glue. Drying: Dry in a ventilated place to avoid humid environment. Storage: Put the wearable nail in a special storage box to avoid being squeezed by heavy objects.
Tips: Enhance the fun of Halloween wearable nails
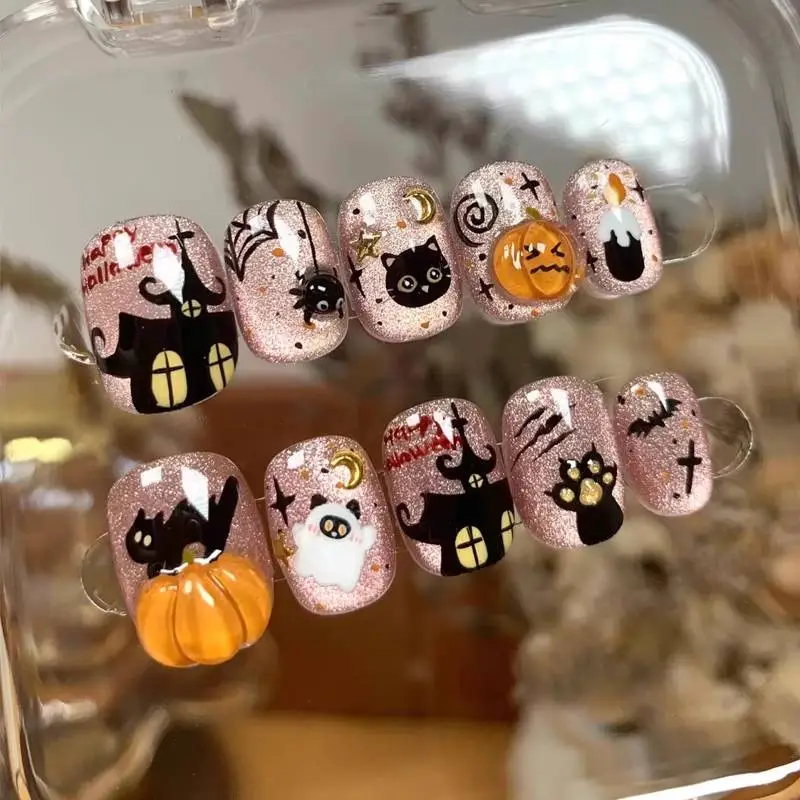
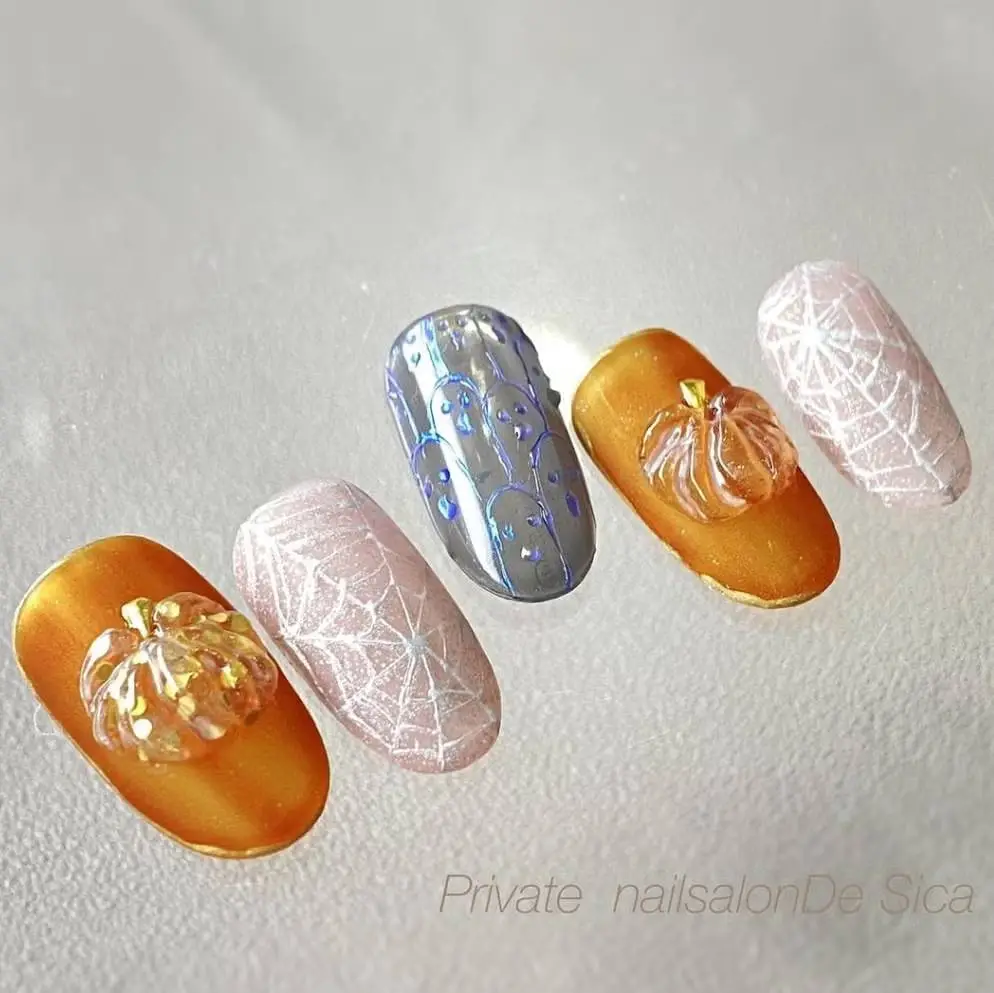
Creative design
You can draw holiday-related patterns on the surface of the wearable nail, such as pumpkins, ghost faces or spider webs, to add unique personality.
Matching accessories
Match with rings, bracelets and other decorations to create a sense of coordination for the overall shape.
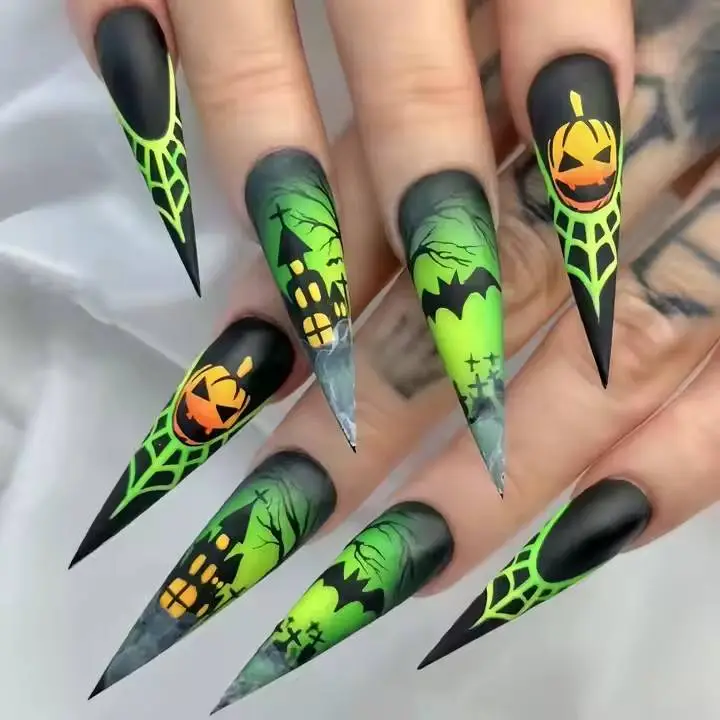
Use fluorescent effect
Choose fluorescent wearable nails to emit light in a dark environment to add atmosphere to the party.
Summary
As an important element of Halloween costumes, wearing armor can not only enhance the details of role-playing, but also add more charm to the overall look. However, correct wearing, proper maintenance, and safe removal are the key to ensure comfort and safety. When preparing to wear armor, you may wish to refer to the above steps to create a sophisticated and interesting Halloween costume!
I hope these suggestions can help you have a wonderful and creative Halloween!