How to make homemade makeup for kids?
Table of Contents
Introduction Kids Cosmetics
Introduce the Concept of Homemade Kids Cosmetics
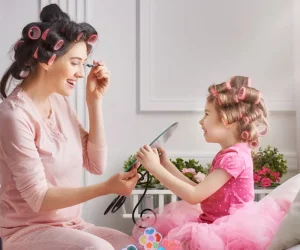
Homemade makeup for kids is like crafting art on a tiny canvas. It’s about concocting playful lip balms, vibrant eyeshadows, and whimsical face paints using simple ingredients found in your kitchen. Picture this: your child’s face lit up with excitement as they dip their fingers into homemade glittery lip gloss or swirl a rainbow of colors onto their cheeks. It’s not just makeup; it’s a gateway to imagination and creativity.
Brief Overview of the Benefits and Safety Concerns
Now, why go homemade when an array of kids cosmetics is lining the store shelves? Well, for starters, homemade makeup offers a personal touch. You have control over the ingredients, ensuring they’re safe and gentle on delicate skin. Unlike commercial products laden with chemicals, homemade makeup boasts natural goodness, removing harsh additives that could irritate or harm your child’s skin. Plus, it’s a fantastic bonding activity, fostering creativity and teaching valuable lessons about skincare and self-expression.
Importance of Using Natural and Non-Toxic Ingredients
When it comes to kids cosmetics, safety reigns supreme. Parents strive to shield their little ones from harmful chemicals lurking in many commercial products. That’s where homemade makeup shines. By harnessing the power of nature’s bounty—think coconut oil, beeswax, and natural pigments—you create a makeup haven free from synthetic fragrances, parabens, and other nasties. It’s all about nurturing your child’s innocence with ingredients straight from Mother Earth’s pantry, ensuring their playtime remains as pure as their laughter.
Understanding Kids Cosmetics
What are Kids Cosmetics?
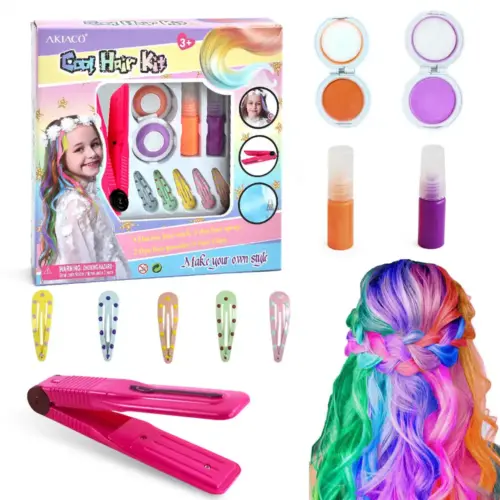
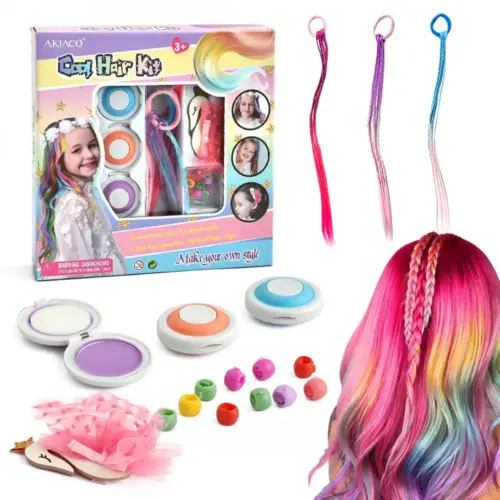
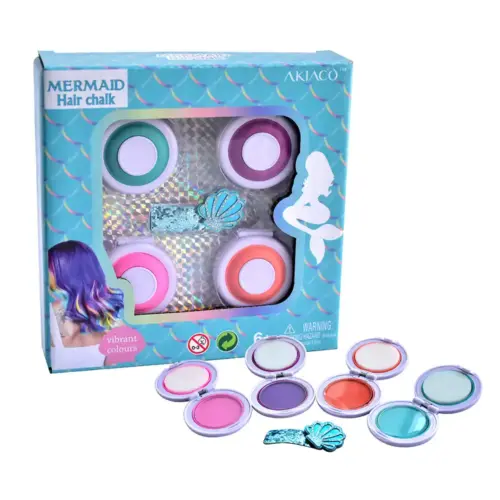
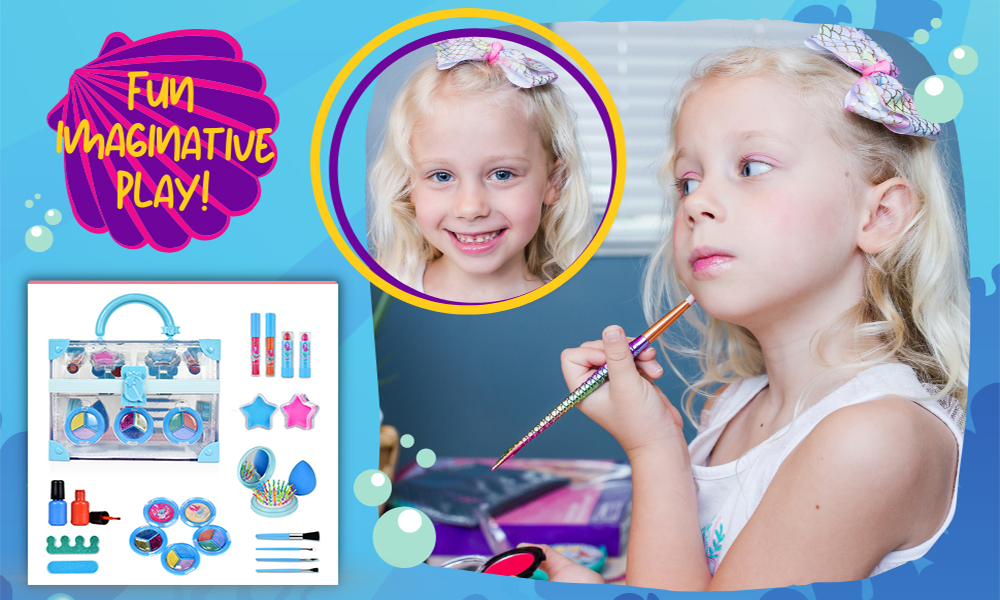
Kids cosmetics are beauty products specially formulated for children’s delicate skin. They come in various fun and vibrant colors, appealing to young ones’ playful natures. From lip balms to glittery nail polishes, these products are designed to introduce children to the world of makeup safely and age-appropriately.
Why Regular Cosmetics Might Not Be Suitable for Children
Traditional cosmetics intended for adults often contain harsh chemicals and fragrances that can be too harsh for children’s sensitive skin. Ingredients like parabens, sulfates, and artificial dyes can cause irritation and allergic reactions in young users. That’s why it’s crucial to opt for kids’ cosmetics specifically formulated with milder ingredients that cater to the unique needs of children’s skin.
The Importance of Age-Appropriate Kids Cosmetics Products
Children’s skin is still developing and more susceptible to external irritants, making it vital to use age-appropriate products that are gentle and safe. Kids cosmetics are formulated with this in mind, ensuring that they are mild enough for children’s delicate skin while still providing the fun and creativity that makeup brings.
Common Ingredients to Avoid in Kids Cosmetics
When choosing kids cosmetics, it’s essential to avoid certain ingredients that can harm children’s skin. Some common culprits include parabens, phthalates, and synthetic fragrances, which have been linked to skin irritation and other health concerns in children. Opting for natural and organic ingredients can minimize the risk of adverse reactions and ensure a safer makeup experience for kids.
Summary
In conclusion, understanding the unique needs of children’s skin and the importance of using safe and non-toxic products is crucial when selecting kids cosmetics. Parents can help their children explore the world of makeup safely and enjoyably by choosing age-appropriate products formulated with gentle ingredients and avoiding harmful chemicals.
Benefits of Homemade Makeup for Kids
Homemade makeup offers many advantages over commercial kids cosmetics, ranging from safety concerns to customization options tailored to children’s preferences and sensitivities.
Safety Concerns with Commercial Kids Cosmetics
One of the primary benefits of homemade makeup for kids is addressing safety concerns associated with commercial kids cosmetics. Many conventional makeup products for children contain harsh chemicals and allergens that can irritate sensitive skin and pose health risks. By making makeup at home using natural and non-toxic ingredients, parents can ensure their children are not exposed to potentially harmful substances, providing peace of mind and a safer beauty experience.
Control Over Ingredients and Formulation
Another significant advantage of homemade makeup is the ability to control the ingredients and formulation completely. Unlike store-bought kids cosmetics, whose ingredient list can be lengthy and obscure, homemade makeup allows parents to handpick each ingredient, ensuring that only safe and gentle components are used. This level of control enables parents to customize makeup formulations to suit their child’s specific needs, whether creating products for sensitive skin or avoiding particular allergens.
Cost-effectiveness of Homemade Kids Cosmetics
Homemade makeup can also be a cost-effective alternative to purchasing commercial kids cosmetics. While some natural and organic ingredients may have initial upfront costs, they often go a long way, and many common ingredients can be found in household pantries or easily sourced at affordable prices. By making makeup at home, parents can save money in the long run while still providing high-quality, safe products for their children.
Customization Options for Children's Preferences and Sensitivities
One of the most enjoyable aspects of homemade makeup is the ability to customize products according to children’s preferences and sensitivities. Whether it’s experimenting with different colors, textures, or scents, homemade makeup offers endless possibilities for creativity and personalization. Parents can involve their children in the makeup-making process, allowing them to choose their favorite ingredients and colors, fostering a sense of ownership and creativity.
Summary
In conclusion, homemade makeup presents numerous benefits for kids, including enhanced safety, control over ingredients, cost-effectiveness, and customization options. Parents can provide their children with a fun and safe beauty experience by opting for homemade alternatives while nurturing their creativity and individuality.
Basic Ingredients for Homemade Kids Cosmetics
Homemade makeup for kids offers many benefits, mainly when using natural and safe ingredients, sourcing these ingredients, and ensuring quality and purity in the products.
Natural and Safe Ingredients to Use
When making homemade kids cosmetics, it’s crucial to prioritize natural and safe ingredients. Opting for ingredients like shea butter, coconut oil, beeswax, and cocoa powder ensures that the makeup is gentle on children’s delicate skin. These natural ingredients provide hydration and nourishment and offer subtle colors without the need for harsh chemicals or artificial dyes. By using natural and safe ingredients, parents can rest assured that their children are not exposed to harmful substances commonly found in commercial makeup products.
Where to Source Ingredients
Sourcing ingredients for homemade kids makeup is easier than you think. Many natural ingredients can be found in local health food stores, organic markets, or online retailers specializing in DIY beauty supplies. Some ingredients, such as olive oil or cornstarch, may already be available in your kitchen pantry. By exploring various sources, parents can find high-quality ingredients that meet their standards for safety and purity.
Importance of Kids Cosmetics Quality and Purity
The quality and purity of ingredients play a significant role in the effectiveness and safety of homemade kids cosmetics. It’s essential to choose ingredients that are organic, unrefined, and free from additives or preservatives. By prioritizing quality and purity, parents can ensure that the makeup they create is safe and beneficial for their children’s skin. Investing in high-quality ingredients may come with a slightly higher upfront cost, but the peace of mind and superior results they provide are well worth it in the long run.
Summary
In summary, homemade makeup for kids offers numerous benefits, including natural and safe ingredients, accessibility of ingredient sourcing, and emphasis on quality and purity. By incorporating these principles into the makeup-making process, parents can create wholesome and nourishing products that promote the health and well-being of their children’s skin.
Recipes for Homemade Kids Cosmetics
Lip Gloss/Lip Balm
Ingredients Needed:
- Beeswax Pellets
- Coconut Oil
- Shea Butter
- Natural Coloring (such as beetroot powder or food-grade mica)
- Essential Oils (optional for fragrance)
Step-by-step Instructions:
- Melt the Ingredients: In a heat-safe container, combine 1 tablespoon of beeswax pellets, 1 tablespoon of coconut oil, and 1 tablespoon of shea butter. Place the container in a saucepan filled with a few inches of water and heat over low-medium heat until the ingredients are completely melted and well combined.
- Add Coloring: Stir in your desired natural coloring once the mixture is melted. You can use a small amount of beetroot powder for a subtle pink hue or food-grade mica for a shimmery effect. Adjust the amount of coloring to achieve the desired shade.
- Optional Fragrance: Add a few drops of essential oil for the desired scent. Popular options include vanilla, citrus, or mint. Be sure to choose essential oils that are safe for use on the lips and suitable for children.
- Pour into Containers: Carefully pour the melted mixture into lip balm containers or small jars. Leave some space at the top to allow for expansion as the lip gloss cools and solidifies.
- Excellent and Set: Allow the lip gloss to cool and set at room temperature for several hours, or place it in the refrigerator for faster solidification.
Tips for Customizing Colors and Flavors:
- Experiment with different natural colorings to create custom shades. For example, cocoa powder can be used for a brown tint, while turmeric can add a warm golden tone.
- To enhance the flavor of the lip gloss, consider adding a small amount of natural sweeteners such as honey or agave syrup.
- Get creative with essential oil combinations to create unique and appealing scents. Just remember to use oils that are safe for topical use and suitable for children.
Play Makeup (Non-toxic Face Paint)
Ingredients Needed:
- Cornstarch
- Face Lotion or Moisturizer
- Food Coloring (gel or liquid)
- Water
- Mixing Bowls and Spoons
Step-by-step Instructions:
- Mix Cornstarch and Face Lotion: Combine 1 tablespoon of cornstarch with 1 tablespoon of face lotion or moisturizer in a mixing bowl. Mix well until you achieve a smooth and creamy consistency. You can adjust the amount of cornstarch and lotion to achieve your desired thickness and coverage.
- Add Food Coloring: Add a few drops of food coloring to the cornstarch mixture. Start with a small amount and gradually increase until you reach the desired color intensity. You can mix different food coloring shades to create custom colors.
- Thin with Water: If the mixture is too thick, you can thin it with a small amount. Add water, stirring continuously, until you achieve the desired consistency for easy application.
- Skin Test: Before applying the face paint to your child’s face, it’s essential to perform a patch test on a small area of skin to check for any allergic reactions. Wait for a few minutes to ensure there is no irritation before proceeding.
- Apply with Brushes or Fingers: Use clean paintbrushes or fingers to apply the homemade face paint to your child’s face. Encourage creativity and imagination by letting them design their makeup look or face painting design.
Safety Considerations for Application:
- Always supervise children using face paint to ensure they do not ingest or get it into their eyes.
- Remove the face paint with gentle cleansers or makeup removers suitable for children’s sensitive skin.
- Avoid using face paint on broken or irritated skin; discontinue use if any adverse reactions occur.
- Choose food coloring brands that are labeled as safe for cosmetic use, and avoid ingredients that may cause staining or irritation.
Nail Polish
Ingredients Needed:
- Clear Nail Polish (base)
- Eyeshadow or Mica Powder (for color)
- Small Funnel or Spoon
- Mixing Bowl or Plate
- Toothpicks or Small Stirring Tool
Step-by-step Instructions:
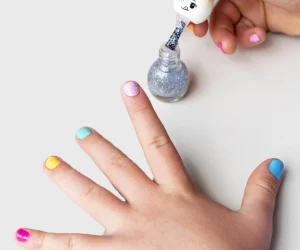
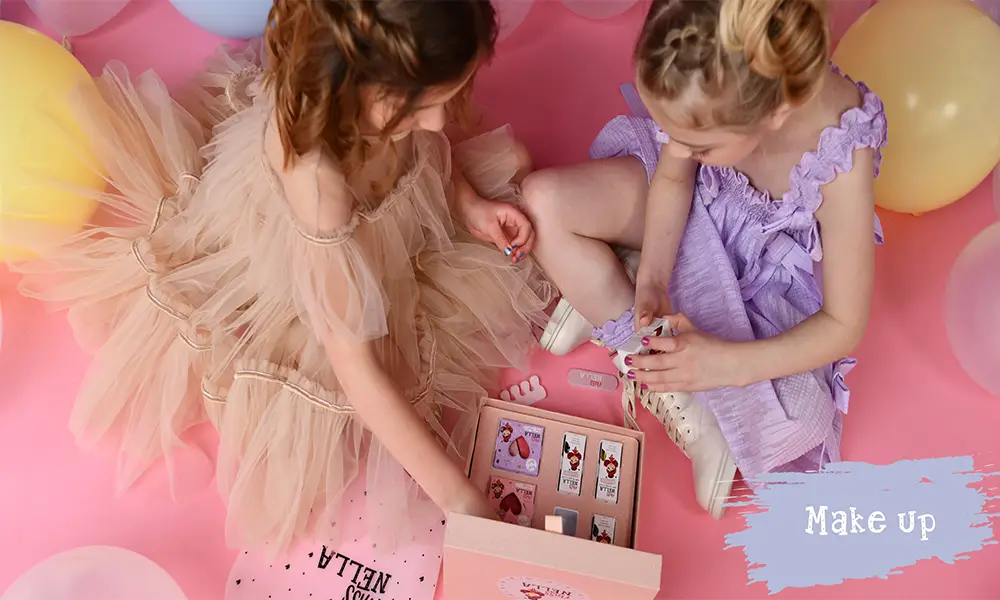
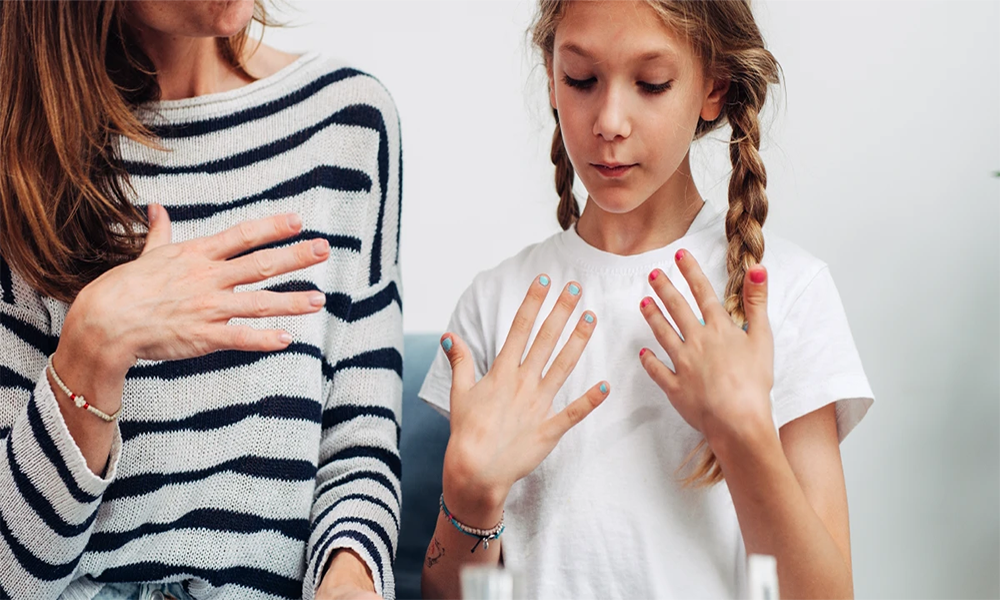
- Prepare the Base: Start by pouring a small amount of clear nail polish into a mixing bowl or plate. This will serve as the base for your homemade nail polish. You can use any clear nail polish you have on hand or purchase a new one specifically for this purpose.
- Add Color: Next, choose your desired color for the nail polish. You can use eyeshadow or mica powder to add pigment to the clear nail polish. Use a toothpick or a small stirring tool to scrape a small amount of eyeshadow or mica powder into the bowl with clear polish. Start with a small amount and gradually add more until you achieve the desired color intensity.
- Mix Thoroughly: Stir thoroughly until the color is evenly distributed throughout the clear nail polish. You can also use the back of a spoon to crush any clumps of eyeshadow or mica powder and ensure a smooth consistency.
- Transfer to Nail Polish Bottle: Once the color is mixed to your liking, use a small funnel or spoon to carefully transfer the homemade nail polish back into its original nail polish bottle or another clean, empty bottle with a tight-fitting lid. Be careful not to spill or waste any of the mixture during this step.
- Shake Well Before Use: Before applying the homemade nail polish to your child’s nails, shake the bottle well to ensure the color is evenly dispersed. Apply the nail polish as you would with any other polish, starting with a base coat if desired and finishing with a clear topcoat for added shine and longevity.
Tips for Creating Different Colors and Finishes:
- Experiment with different shades of eyeshadow or mica powder to create custom colors for your homemade nail polish.
- Mix multiple colors, such as ombre or marbled nails, to create unique shades and effects.
- Add glitter or shimmer powder to the clear nail polish for a sparkly finish that kids will love.
- Adjust the ratio of clear polish to eyeshadow or mica powder to customize the opacity of the nail polish. More pigment will result in a more opaque finish, while less pigment will create a sheerer look.
Eyeshadow
Ingredients Needed:
- Cornstarch or Arrowroot Powder
- Natural Coloring (such as cocoa powder, turmeric, or spirulina)
- Optional: Mica Powder for Shimmer (make sure it’s cosmetic-grade)
- Small Mixing Bowls or Containers
- Small Spoons or Measuring Spoons
Step-by-step Instructions:
- Prepare the Base: Pour a small amount of cornstarch or arrowroot powder into a mixing bowl. This will serve as the base for your homemade eyeshadow. You can adjust the amount of powder based on how much eyeshadow you want to make.
- Add Natural Coloring: Add your desired natural coloring to the powder base. You can use cocoa powder for brown tones, turmeric for yellow tones, or spirulina for green tones. Start with a small amount and gradually add until you achieve the desired color intensity. If you want to add shimmer, mix in a small amount of cosmetic-grade mica powder.
- Mix Thoroughly: Use a small spoon or measuring spoon to mix the powder and natural coloring together. Ensure there are no clumps and the color is evenly distributed throughout the base.
- Test the Color: Once the eyeshadow mixture is well mixed, test the color on the back of your hand or inner wrist to see how it looks against your skin tone. Adjust the color as needed by adding more natural coloring or base powder.
- Store in Containers: Transfer the homemade eyeshadow into small containers or jars with tight-fitting lids. You can use empty eyeshadow pans, pillboxes, or any other small containers you have on hand. Label the containers with the color and ingredients used for easy identification.
Safety Precautions for Eye Area Products:
- Avoid using ingredients that may cause irritation or allergic reactions, such as synthetic dyes or fragrances.
- Before applying homemade eyeshadow to the eyelids, perform a patch test on a small area of skin to check for any adverse reactions.
- Keep homemade eyeshadow away from the eyes and avoid direct contact with the mucous membranes to prevent irritation or injury.
- If irritation occurs, discontinue use immediately and consult a healthcare professional.
- Store homemade eyeshadow in a cool, dry place away from direct sunlight to prolong shelf life and maintain product integrity.

Safety Tips for Using Homemade Kids Cosmetics
Patch Testing for Allergies
Before applying any homemade kids cosmetics to a larger skin area, performing a patch test to check for potential allergic reactions is crucial. To do this, use a small amount of the product on a discreet skin area, such as the inner wrist or behind the ear. Wait for at least 24 hours and observe for any signs of irritation, redness, or itching. If adverse reactions occur, discontinue use immediately and consult a healthcare professional.
Kids Cosmetics Proper Storage and Shelf Life
Homemade kids makeup should be stored properly to maintain quality and safety. Store products in clean, airtight containers or jars away from direct sunlight and extreme temperatures. This will help prevent contamination and preserve the freshness of the ingredients. Additionally, be mindful of the shelf life of homemade cosmetics, as natural products may have a shorter lifespan than commercial products. Label each product with the creation date and discard any items showing spoilage or degradation.
Supervision During Application Kids Cosmetics
Children should always be supervised when using kids makeup, whether homemade or store-bought. Ensure that children apply the makeup safely and controlled, avoiding contact with the eyes, mouth, and mucous membranes. Encourage gentle application and remind children to wash their hands before and after using makeup to prevent the spread of bacteria and germs.
Removal Kids Cosmetics Techniques
Proper makeup removal is essential to prevent skin irritation and clogged pores. Use gentle, non-abrasive cleansers suitable for sensitive skin to remove kids makeup. Avoid harsh scrubbing or rubbing, especially around the delicate eye area. Consider using makeup remover wipes or micellar water for easy and effective removal. After removing the makeup, follow up with a gentle moisturizer to keep the skin hydrated and nourished.
Summary
In summary, by following these safety tips, parents can ensure their children enjoy using homemade makeup safely and responsibly. Prioritizing patch testing, proper storage, supervision during application, and gentle removal techniques will help minimize the risk of adverse reactions and keep children’s skin healthy and happy.
Conclusion
Recap of the Benefits of Homemade Kids Makeup
- Safety: By using natural and non-toxic ingredients, parents can ensure their children are not exposed to harmful chemicals commonly found in commercial makeup products.
- Customization: Homemade cosmetics allow for the customization of colors, textures, and scents, catering to children’s preferences and sensitivities.
- Cost-effectiveness: Making your own kids makeup can be more economical than purchasing commercial products, especially when using readily available ingredients.
- Creativity: DIY cosmetics encourage creativity and imagination, providing children with a hands-on opportunity to express themselves through makeup artistry.
Encouragement for Parents to Try Making Their Own Cosmetics for Their Children
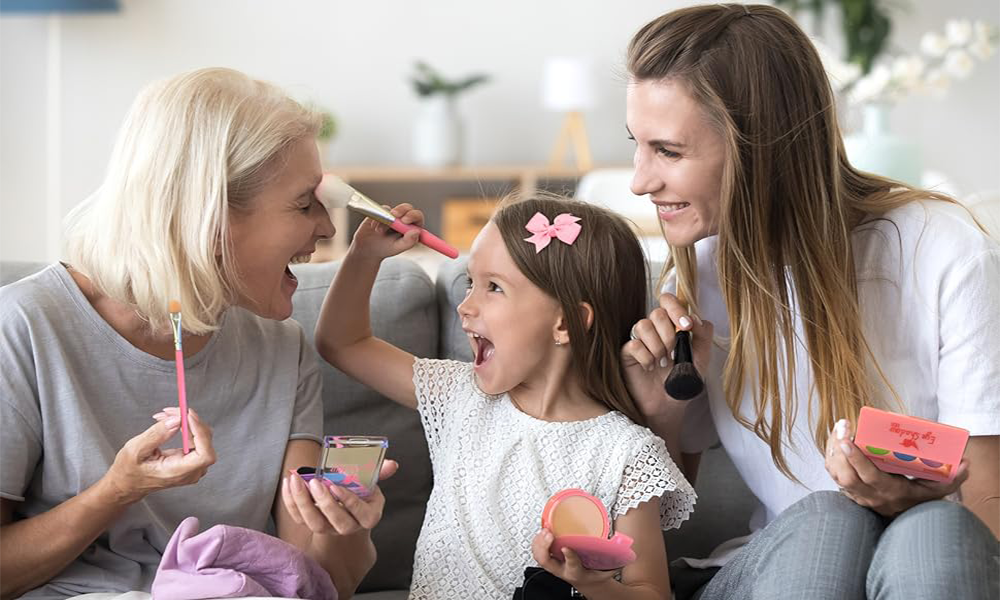
We encourage parents to take the plunge and try making homemade kids make up for their little ones. It is a fun activity to do together all, allows for greater control over the ingredients used, and fosters a deeper connection between parent and child. Embrace the opportunity to experiment with different recipes, colors, and formulations, and watch as your children delight in the magic of homemade cosmetics.
Final Thoughts on Prioritizing Safety and Ccreativity in Kids' Beauty Products
As we conclude, it’s essential to emphasize the importance of prioritizing safety and creativity in kids cosmetics. Whether opting for homemade or commercial products, parents should always prioritize the well-being of their children’s delicate skin and encourage them to explore beauty safely and responsibly. Parents can provide their children with enriching beauty experiences that promote self-expression, confidence, and joy by balancing safety and creativity.
Related FAQ
What are the benefits of making homemade makeup for kids?
Making homemade makeup for kids offers several benefits. Firstly, it gives parents complete control over the ingredients, ensuring that only safe and non-toxic components are applied to their children's delicate skin. Additionally, homemade makeup can be customized to suit children's preferences and sensitivities, offering a more personalized beauty experience. It's also a fun and creative activity that promotes bonding between parents and children.
What are some common ingredients used in homemade kids cosmetics?
Common ingredients used in homemade kids makeup include natural oils (such as coconut oil or almond oil), beeswax, shea butter, cornstarch or arrowroot powder, and natural colorants like cocoa powder, beetroot powder, or food-grade mica powder. These ingredients are chosen for their gentle and nourishing properties, making them suitable for children's sensitive skin.
Is homemade kids cosmetics safe for children to use?
When made with safe and non-toxic ingredients, homemade kids makeup is generally safe for children. However, it's essential to perform patch tests before applying any homemade products to larger areas of the skin to check for potential allergic reactions. Additionally, parents should supervise children during application to ensure that the makeup is used responsibly and kept away from sensitive areas like the eyes and mouth.
How long do homemade kids cosmetics last?
The shelf life of homemade kids makeup can vary depending on the ingredients used and how it is stored. Generally, products made with natural ingredients have a shorter shelf life than commercial cosmetics. To prolong its freshness, homemade makeup must be stored in airtight containers in a cool, dry place away from direct sunlight. Discard any products that show signs of spoilage or degradation.
Can homemade makeup for kids be easily removed?
Yes, homemade makeup for kids can be easily removed with gentle cleansers or makeup removers suitable for sensitive skin. Avoid harsh scrubbing or rubbing, especially around the delicate eye area. Consider using makeup remover wipes or micellar water for easy and effective removal. After removing the makeup, follow up with a gentle moisturizer to keep the skin hydrated and nourished.
Related Products
Share this post and explore with us!

